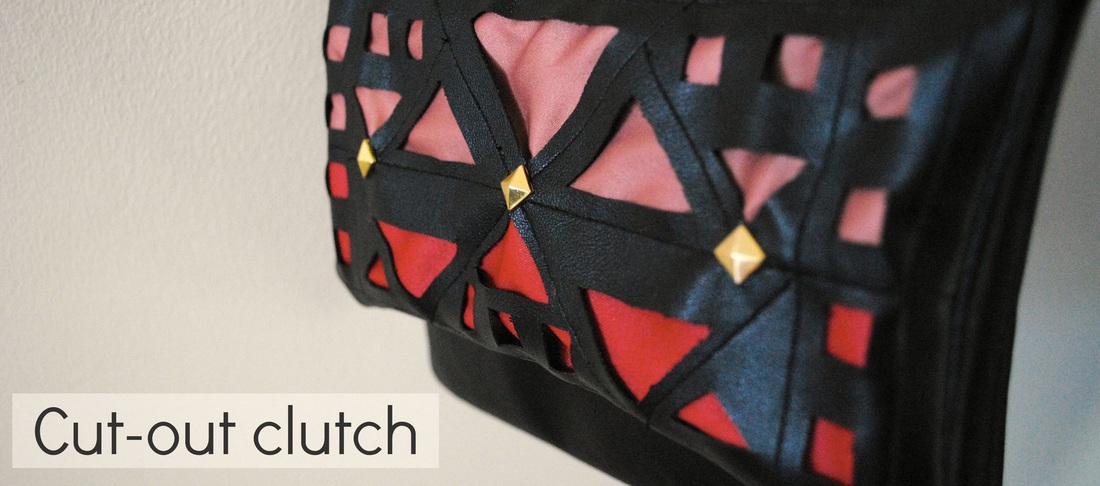
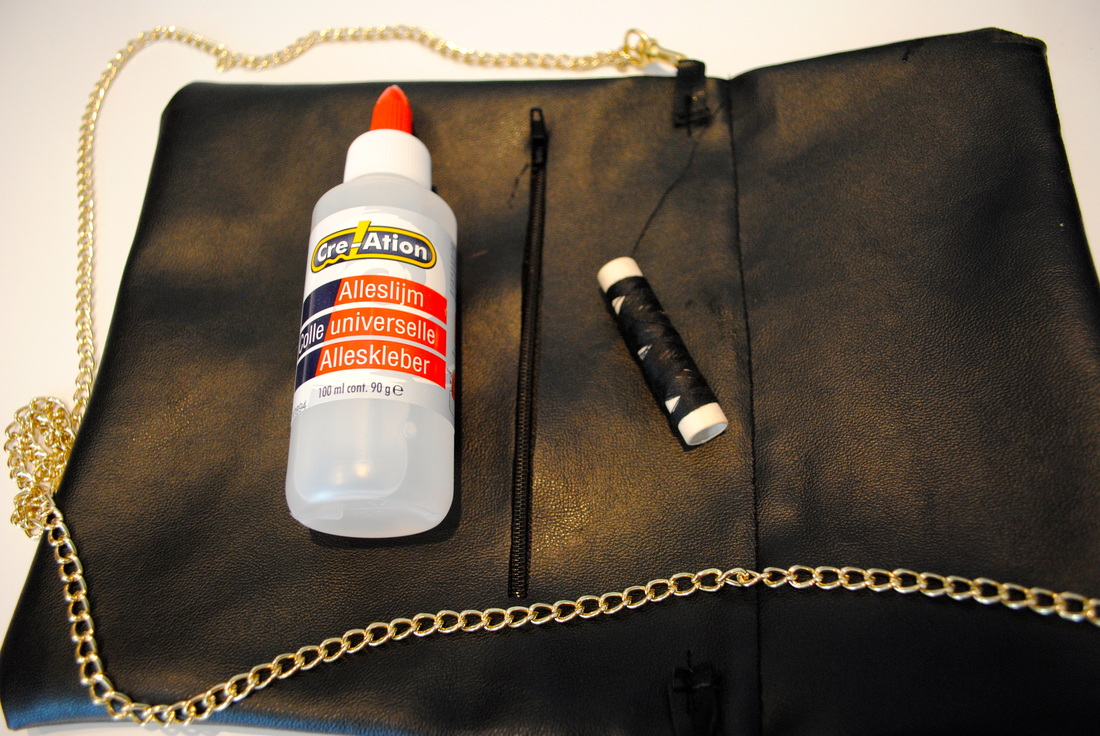
 Trend Alert: Cut-out leather bags Gespot op de catwalk bij o.a. Dior tijdens de Paris Fashion Week SS14, maar zeker ook aanwezig bij grote mode-shops zoals Asos; deze statement-tassen van (fake) leer, waaruit allerlei grafische vormen zijn geknipt, zijn DE nieuwe trend! Spotted on the runway during the Dior show at Paris Fashion Week SS14, but also seen at fashion stores like Asos; these (fake) leather statement bags with graphic cut outs are hot and trending! 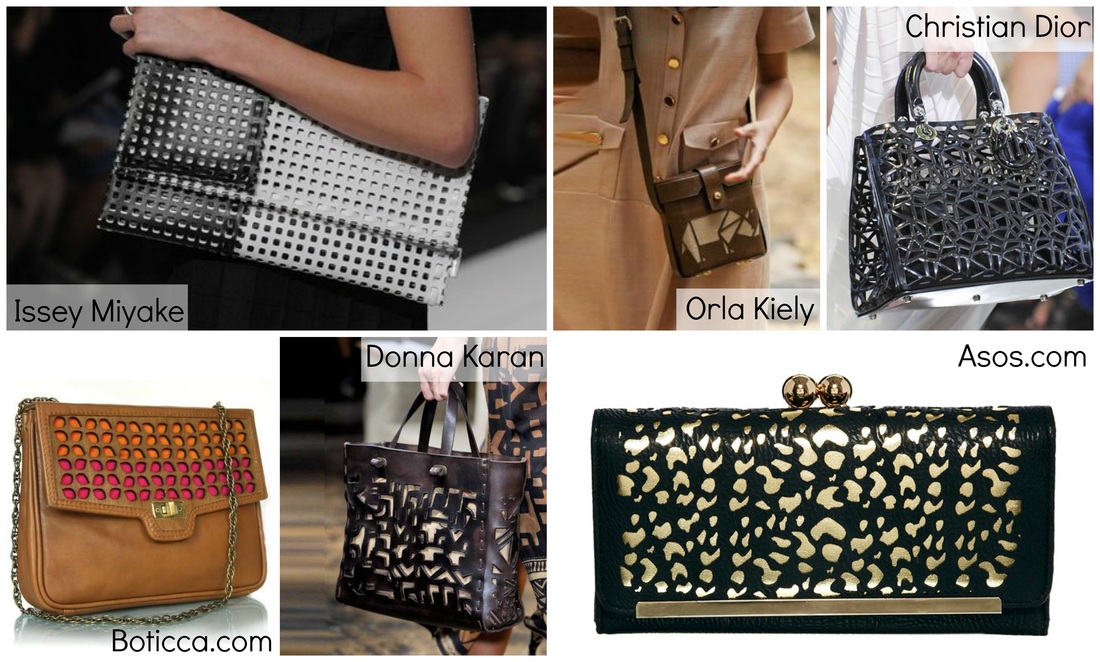 Photocredits: glamourmagazine.co.uk, asos.com, boticca.com Ik heb thuis een stukje zwart nepleer gevonden, en hiermee ben ik de uitdaging aangegaan: mijn eigen cut-out bag maken! Fake leer is super gemakkelijk in gebruik: je kan erin knippen en naaien, maar het rafelt nooit uit (de randjes moet je dus niet afwerken). Een naaimachine is toch wel een must bij deze DIY, maar enkel om rechte stukken te naaien. Deze tutorial ziet er misschien wat moeilijk uit, maar eigenlijk is het piece of cake! At home I found a piece of black fake leather, and I put it to the test: I challenged myself to make my own cut out bag! Fake leather is oh-so-easy to use: you can cut it and sew it, but you never have to finish the edges since fake leather doesn't fray. Maybe this tutorial looks difficult to say the least, but it's actually a piece of cake! Do it yourself!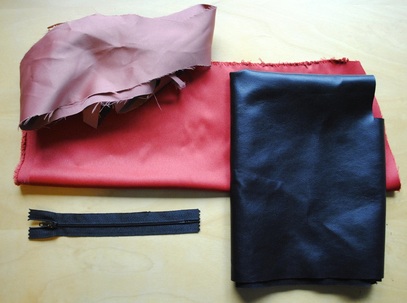 Wat heb ik gebruikt?
What did I use?
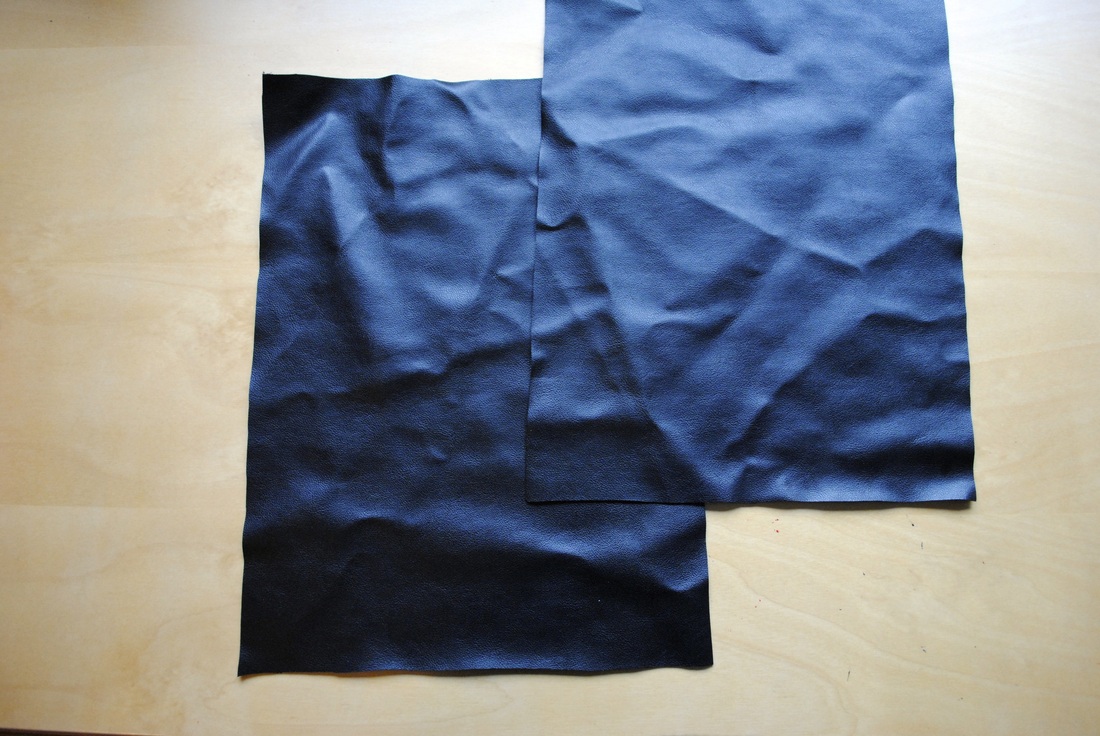
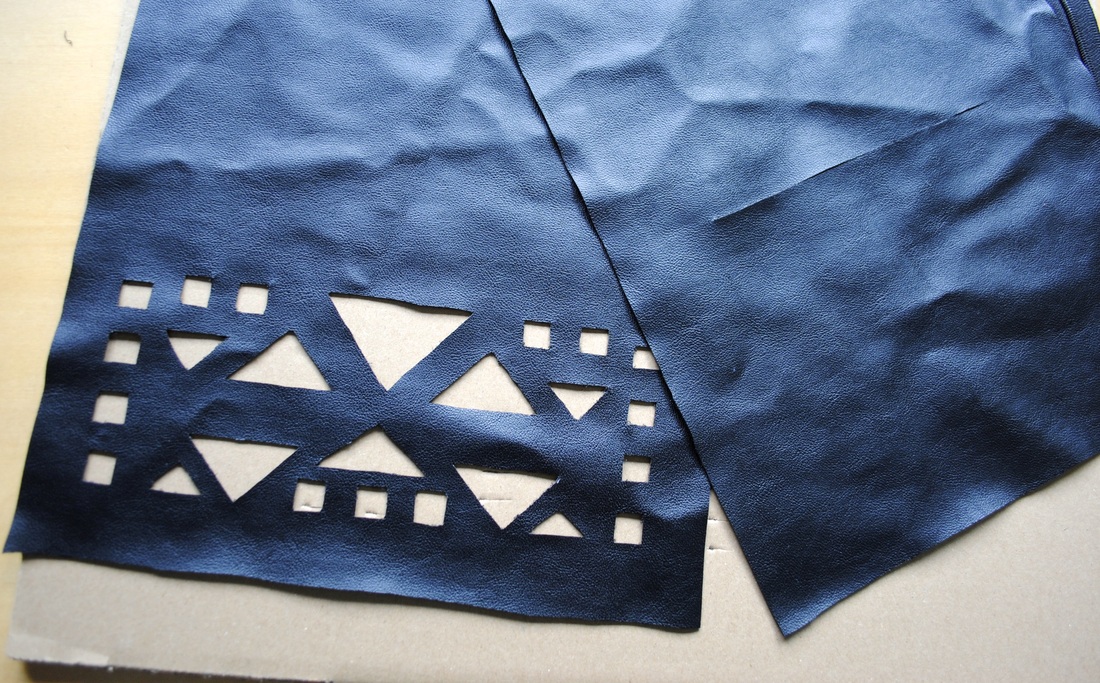
Stap 1 Knip 2 even grote rechthoeken uit het leer. Pas op: je tas wordt iets kleiner dan de helft van 1 rechthoek! Teken op de achterkant van één stuk leer het patroon voor de 'cut-out'. Met een breekmes kan je deze figuurtjes gemakkelijk uitsnijden. Step 1 First take the black leather and cut out 2 identical rectangles. Notice that your bag will become a little bit smaller than half the rectangle! Draw a pattern on the back of one piece of leather, and cut it out using a hobby knife.
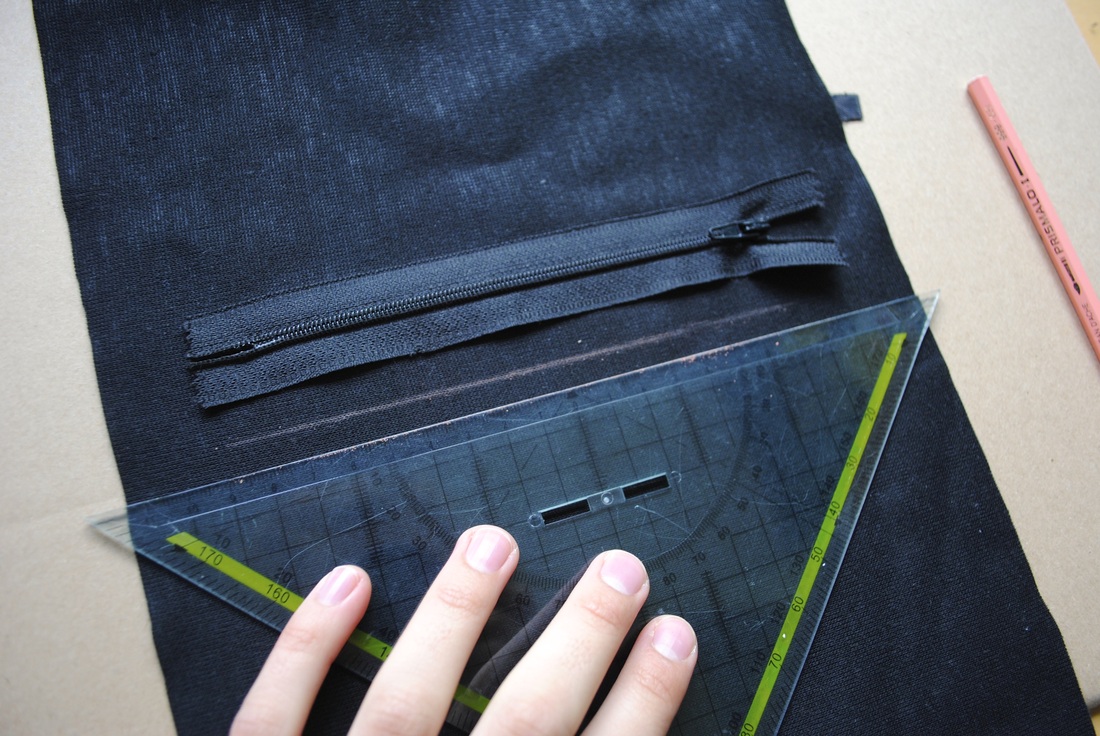
Stap 2 Teken op de andere rechthoek een lijn die even lang is als je rits. Doe dit iets lager dan het midden van het stukje leer. Gebruik weer je breekmesje om de ritsopening te maken. Step 2 Draw a line on the other rectangle, a little lower than the middle. This line has to have the length of the zip. Use the hobby knife to cut the opening.
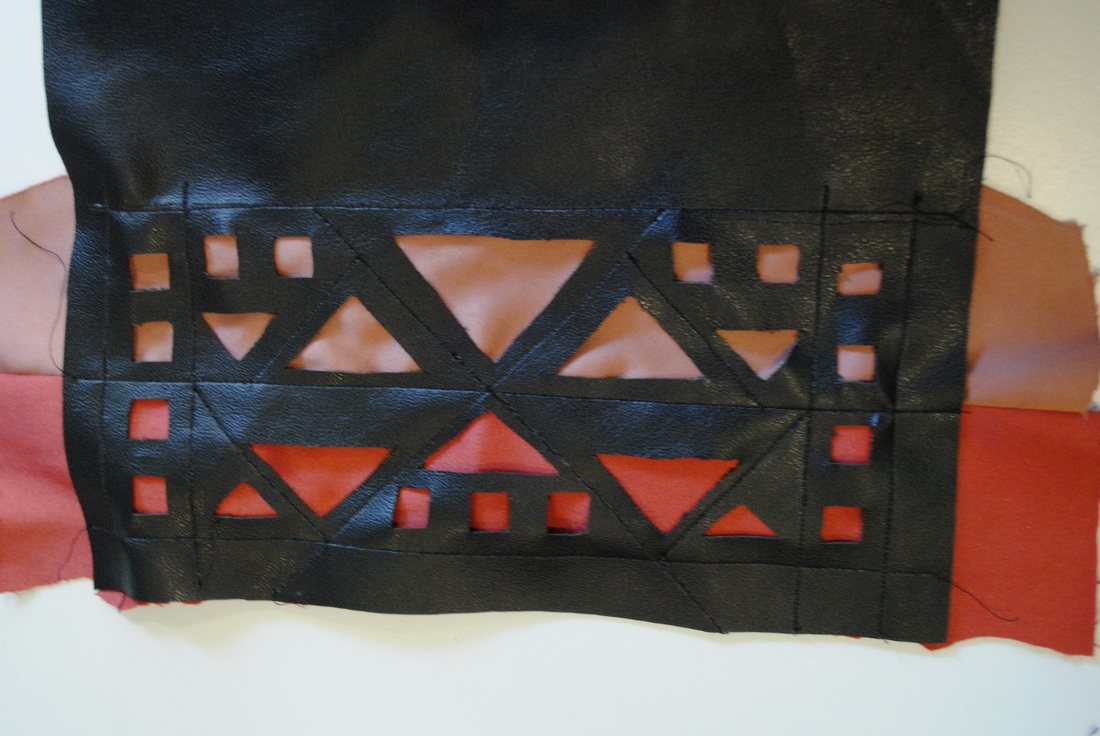
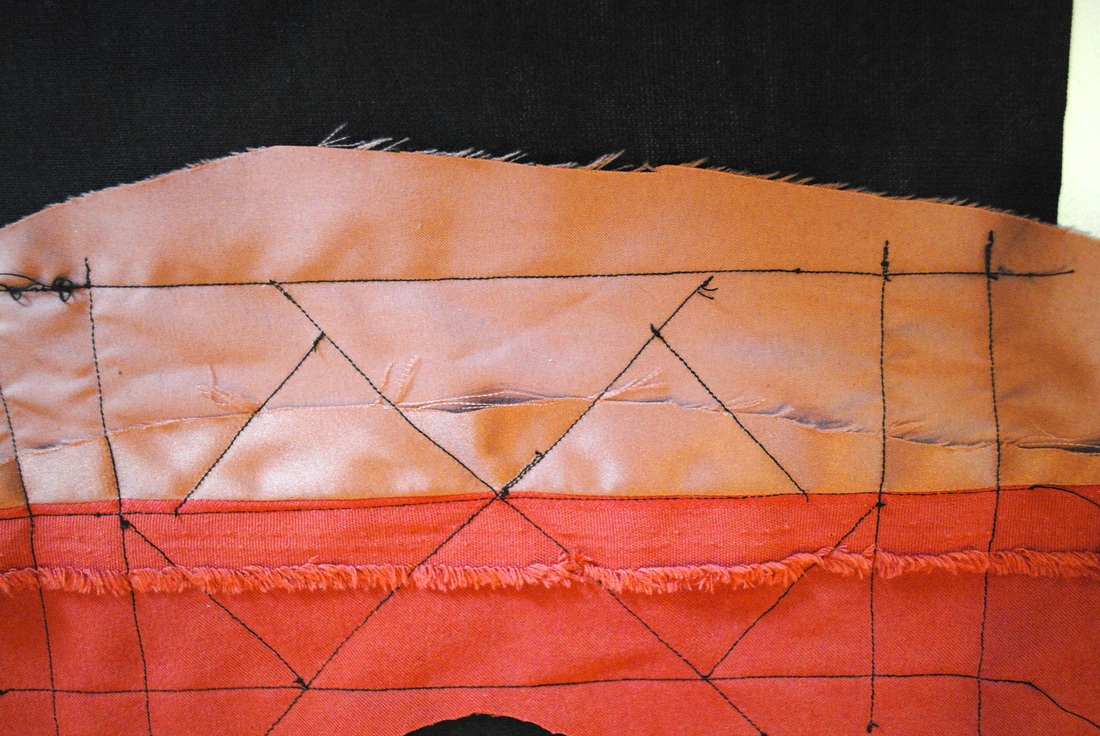
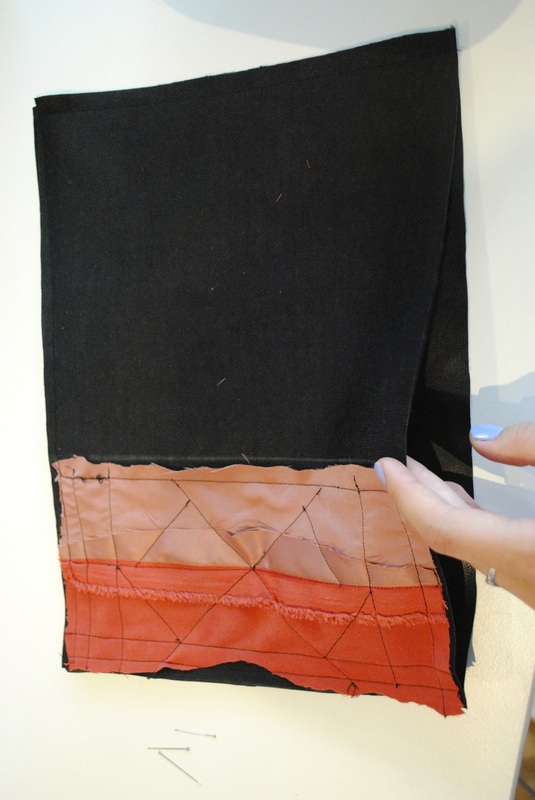
Stap 3 Naai de roze en rode stof aan elkaar: leg ze op elkaar en naai ze aan één zijde vast in de lengte. Je kan dit stuk stof nu openvouwen Leg je cut-out leer erover (zorg ervoor dat je de naad niet ziet). Nu moet je de stof nog vastmaken aan het leer: naai tussen je cut-out patroon, maak zoveel naailijnen als je zelf wilt. Knip de stof af aan de rand van de rechthoek van leer. Step 3 Sew the pink and red pieces of cloth together. Place one on top of the other and sew one edge. You should now be able to unfold the piece of cloth. Place the cut out leather on top (make sure the seam is invisible). Attach the leather to your two-colored background by sewing in between the cut out pattern. Cut the edges of the background cloth.
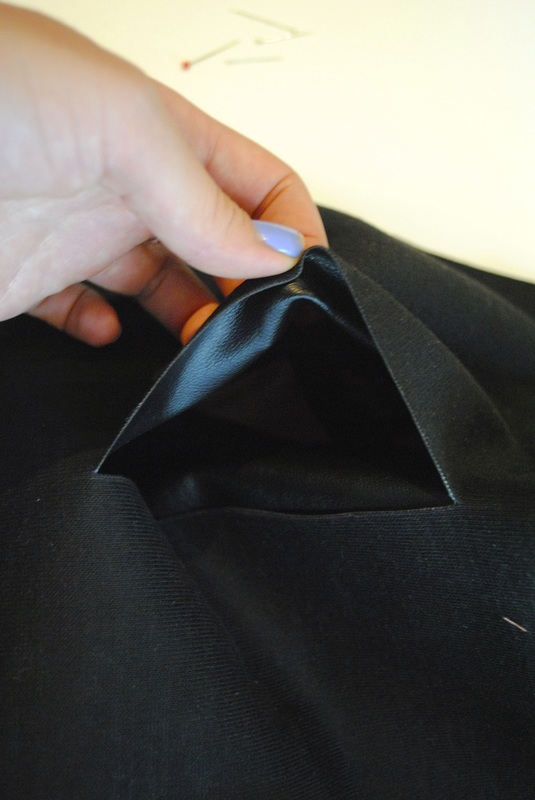
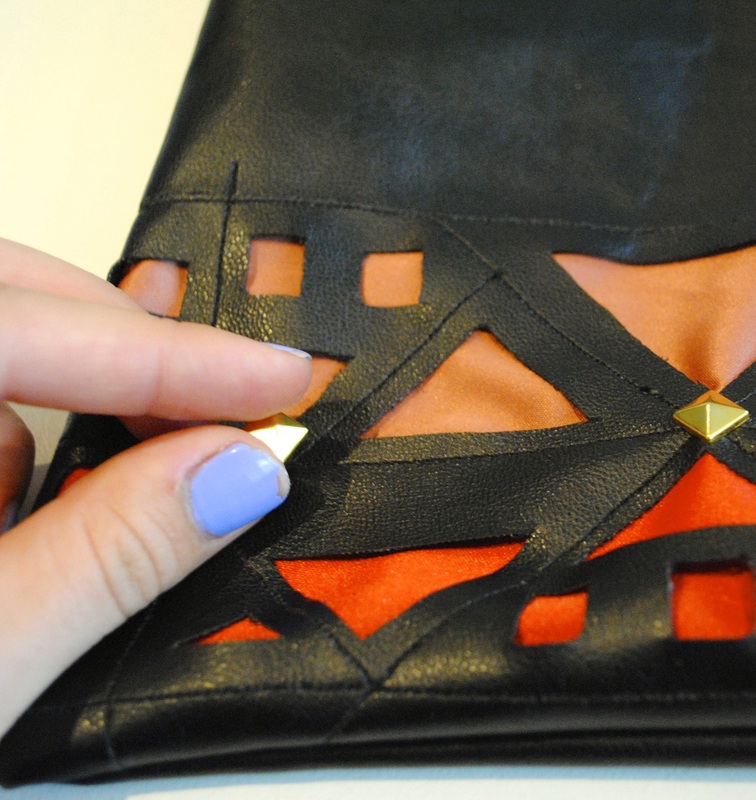
Stap 4 Leg nu de 2 rechthoeken op elkaar, met de goede kant naar binnen. Naai dit geheel volledig vast aan de 4 zijden, zo dicht mogelijk bij de rand. Draai je tas terug binnenstebuiten door de ritsopening. Bevestig de studs op je clutch (je kan plakstuds of studs met pinnetjes gebruiken). Step 4 Place one leather rectangle on the other (right sides inwards). Sew them together: make seams at all 4 sides of the rectangles, sewing as close as possible to the edge. Turn your bag inside out using the zip opening. Attach studs on the front side of the clutch.
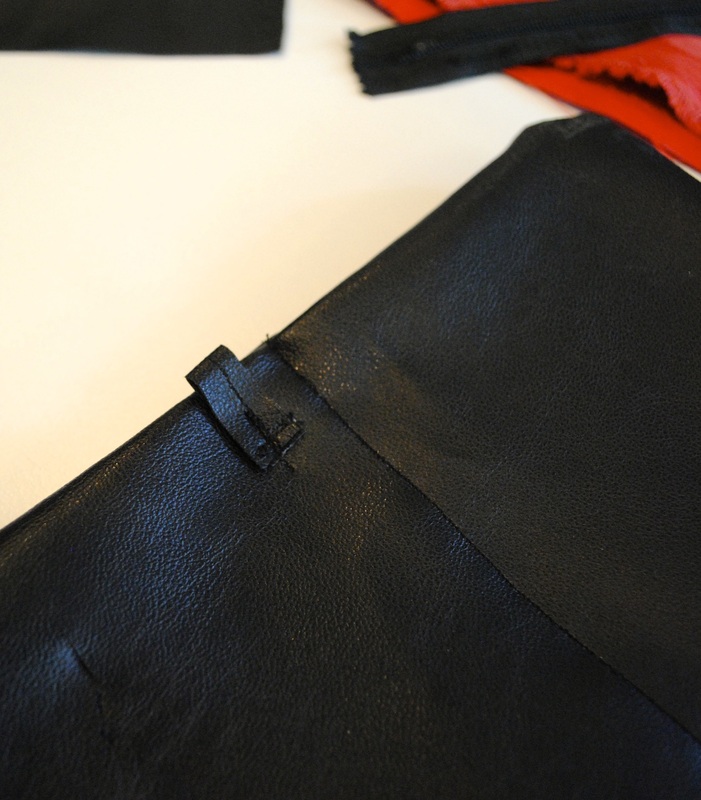
Stap 5 Met een restje leer kan je lusjes bevestigen aan je clutch. Ik heb deze lusjes erop genaaid en er een gouden ketting aan gehangen (bv. verkrijgbaar bij Veritas). Bevestig de lusjes op de plaats waar de bovenkant van de tas moet zijn, dus waar de vouw moet komen. Deze ketting kan je natuurlijk ook weglaten. Doe wat alleslijm op de bovenzijde rits (doe dit op de reepjes stof naast de rits zelf), en plak de rits vast door het leer over de reepjes stof te plakken. Naai dit ook nog eens vast met naald en draad voor extra stevigheid. Step 5 You can make 2 little loops with a bit of leather leftover. I added these loops to my clutch using needle and thread, and attached a golden chain. Of course, this step is facultative. Fold the bag: the cut out pattern will cover the zip opening. Glue the zip to the clutch: put some universal glue right next to the zip, and attach it to the leather opening. Firmly secure the zip by using once more needle and thread. 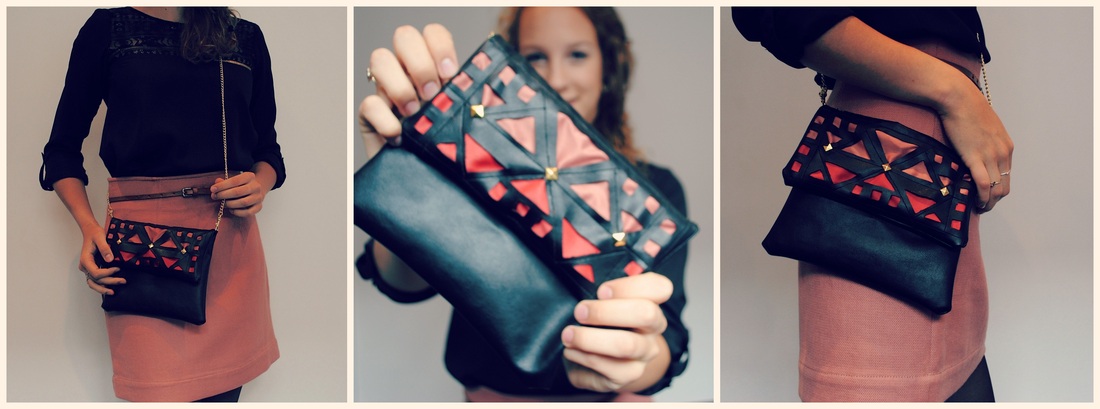 Deze cut-out clutch combineer ik met een zwart kanten truitje van Bershka en een oudroze rokje van Part Two. Het is perfect om te dragen als je naar een feestje gaat: uniek, trendy en juist groot genoeg. Ik ben alvast super blij met mijn nieuw tasje!
I chose to combine my cut-out clutch with a black lace top (Bershka) and a pink skirt (Part Two). It's a perfect bag for a party: unique, trendy and just the right size. So happy to have this new clutch! Lees verder op www.missmodern.be Sofie
3 Comments
Sue
9/10/2013 02:53:07 am
Echt prachtig, hoe kom je er toch op!
Liesa
9/10/2013 03:21:34 am
Supermooi!
Sanne
10/10/2013 10:32:40 pm
PRACH-TIG! Zo ga ik er volgend weekend ook een maken :-)) Leave a Reply. |


 RSS Feed
